
For my first project, I decided to start with something simple. I saw this on Etsy and decided it looked easy(and cheap enough). This cake(or pie) stand is made from a plate and a glass. Easy peasy. And, as an extra bonus, if you like the smell of burnt hair, this is definitely the project for you.
 |
| Supplies |
- Plate (I got mine for $1 at Goodwill)
- Sturdy glass or candlestick($2, also at Goodwill)
- Epoxy($4 at Jo-Ann Fabrics)
- Q-tip
- Popsicle stick or other disposable stirrer
- Something to protect table surface
- Something to mix Epoxy on(I used an empty cereal box)
- Measuring tape
- Sharpie
- Nail polish remover or rubbing alcohol and a cotton ball(only needed if you get Epoxy everywhere)
 |
| Attaching Glass to Plate |
How the Heck Do You Do It?
1) Wash plate and glass, dry thoroughly
2) Measure Center of plate and mark on the bottom. Since one of my plates was clear, I made the mark on the front to I could wash it off.
2) Follow Epoxy instructions for opening/mixing
3) Apply Epoxy to bottom of the glass with Q-tip
4) Center on plate-- you have time to make sure it's centered as it takes a while for this stuff to set. If you want, clean up any excess left behind from adjusting with a cotton ball and nail polish remover/rubbing alcohol
5) Let set for 20-30 minutes
 |
| Bonding Time |
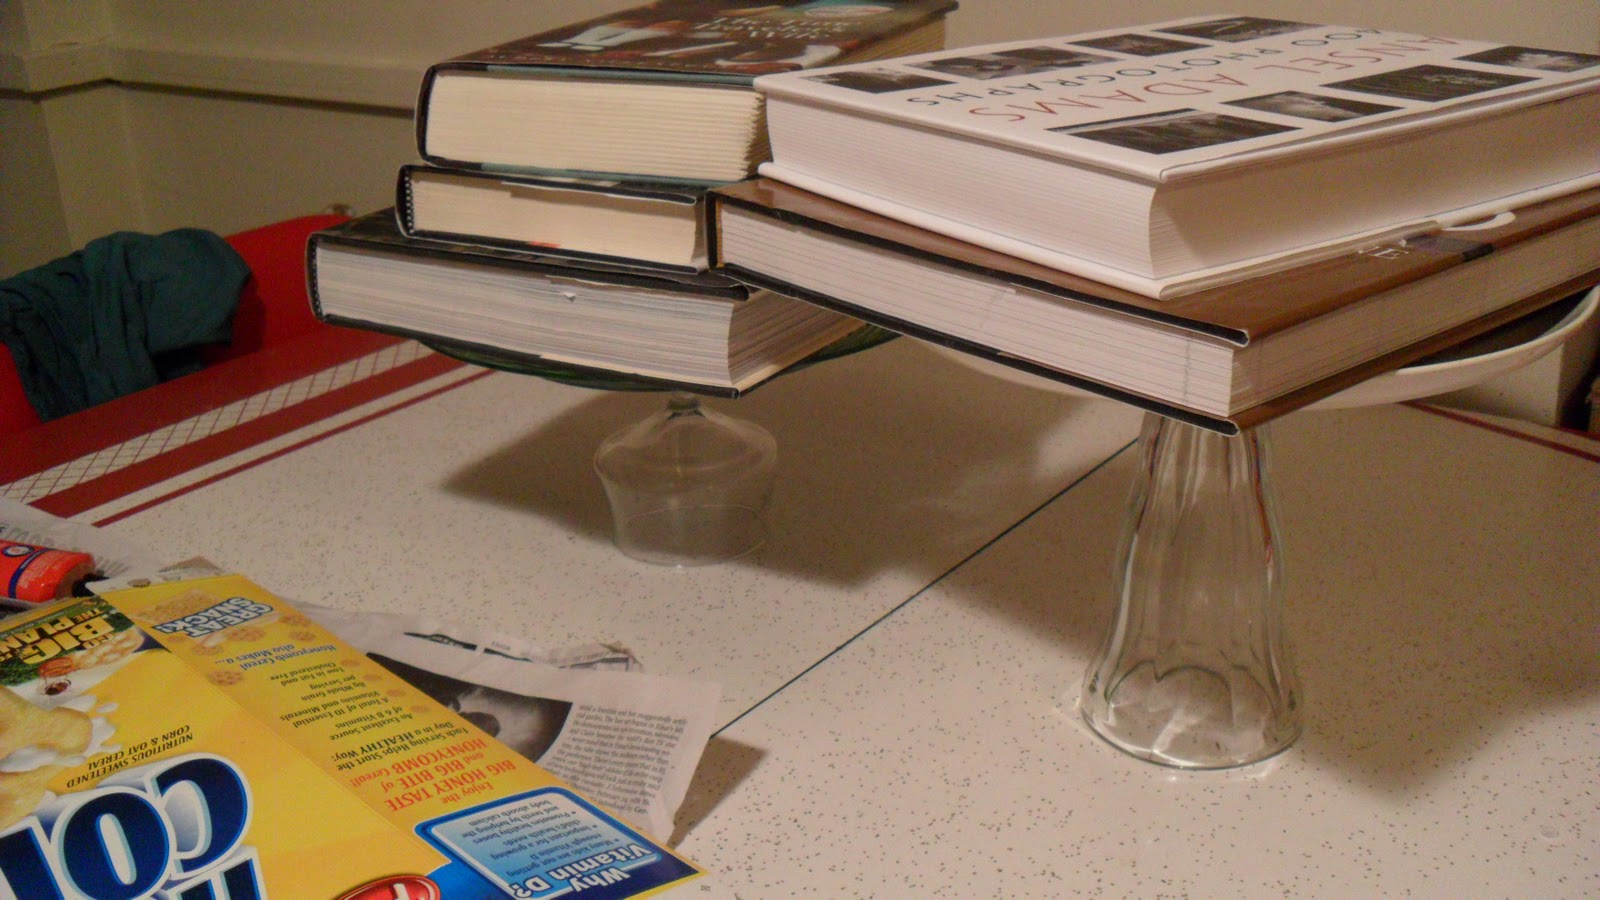
6) Place heavy items on top to be sure all good things bond together.
7) Let sit like this for about 24 hours
8) Bake something so you can show it off!!
Ta-Da!
The finished product! There are lots of things I love about this project: endless possibilities, re-purposing vintage things, easiness, prettiness and so cheap!

My "Oops" = Tips for You
I was real smart and wasn't careful taking the books off, thus cracking the white plate-- thankfully not enough for the whole thing to be ruined. So be gentle!
I had never worked with Epoxy before and it's an interesting little devil. It definitely smells like burnt hair, so be sure to ventilate. Also, don't get it in your hair unless you want it to smell like the nail polish remover you use to get it out. Finally, it comes out of the tube REAL quick to be prepared. But with all that going on, it's pretty amazing stuff!
Moral of the Story
Even if you don't think you're creative or can be crafty, I PROMISE you can do this project!
Next up... Putting up shelves to display these little lovelies